Microk8s 筆記
1.建主節點 master (Oracle VM VirtualBox)
-
下載 iso 印象檔,選擇 ubuntu-22.04.2-desktop-amd64.iso
-
開啟 Oracle VM VirtualBox 管理員,點選新增 -> ISO映像選擇 ubuntu-22.04.2-desktop-amd64.iso -> 下一步 。
-
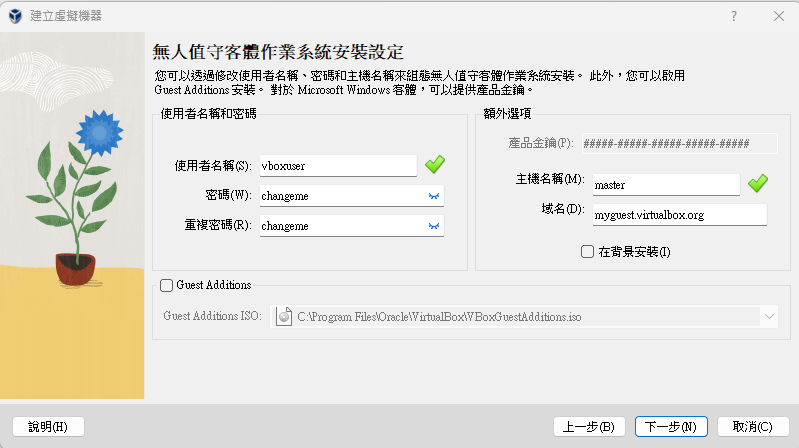
帳號密碼用預設即可。使用者名稱為 vboxuser;密碼為 changeme
-
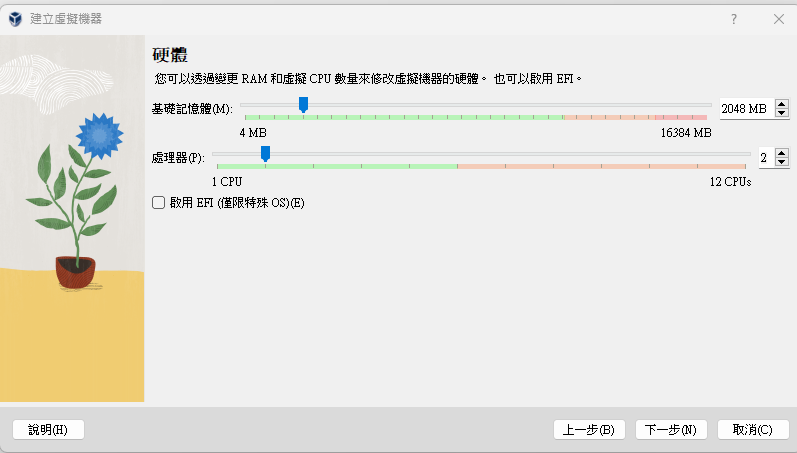
硬體規格:預設即可。
-
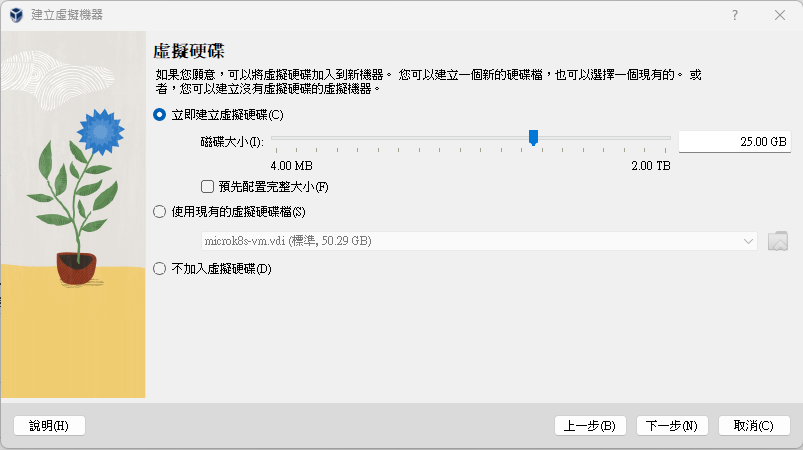
虛擬硬體:預設即可。
-
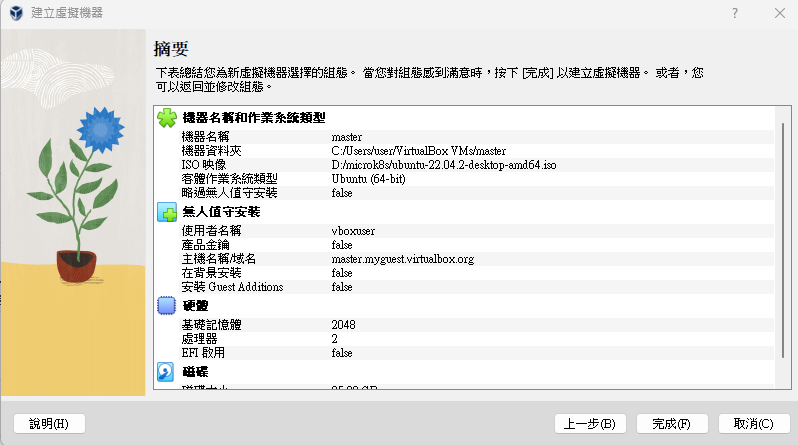
摘要:直接按完成。
-
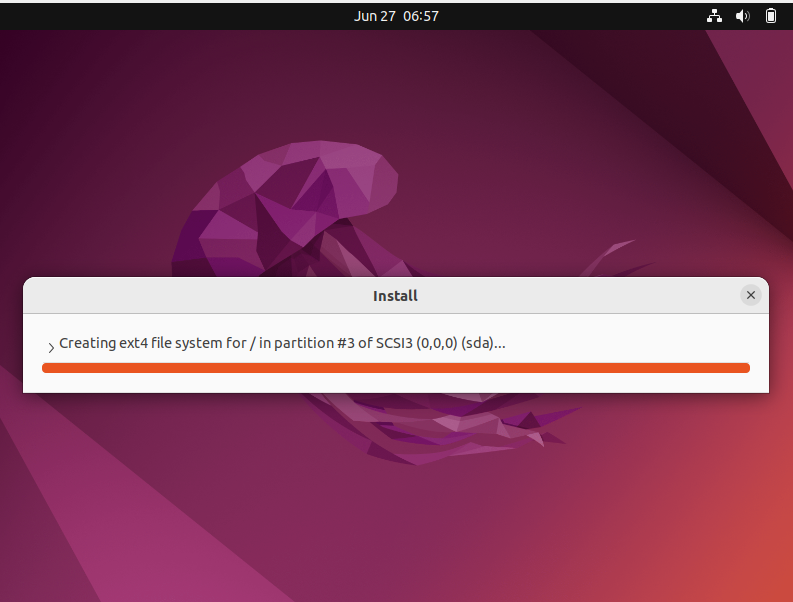
顯示 master,會安裝一段時間,約 20 分鐘。
-
透過 CTRL+ALT+F5 切換成 Terminal 模式;CTRL+ALT+F1 切回 UI 模式。
輸入 CTRL+ALT+F5

輸入帳號、密碼後登入
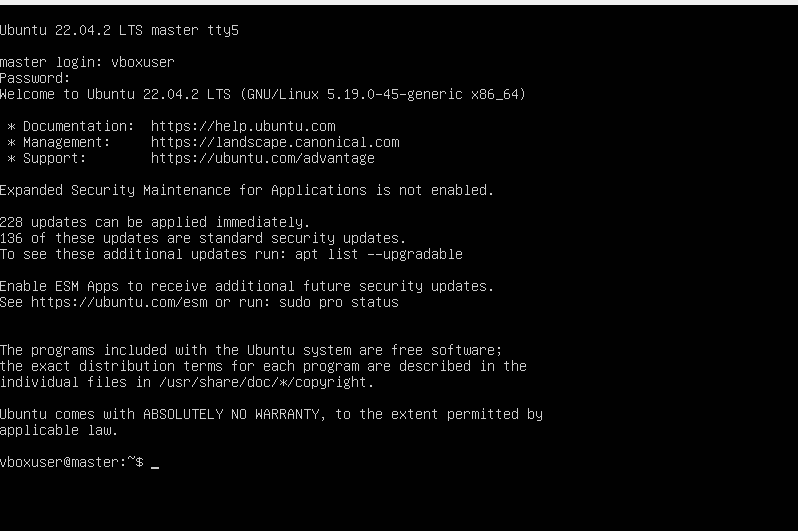
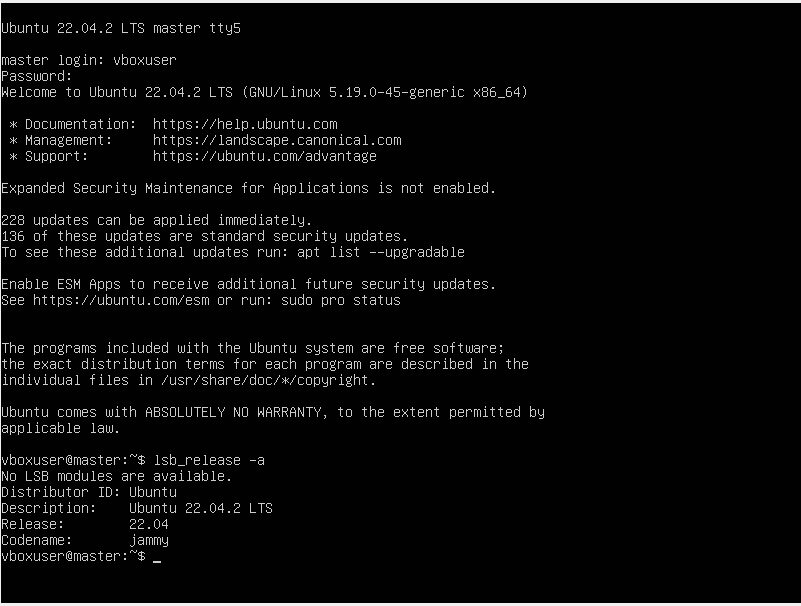
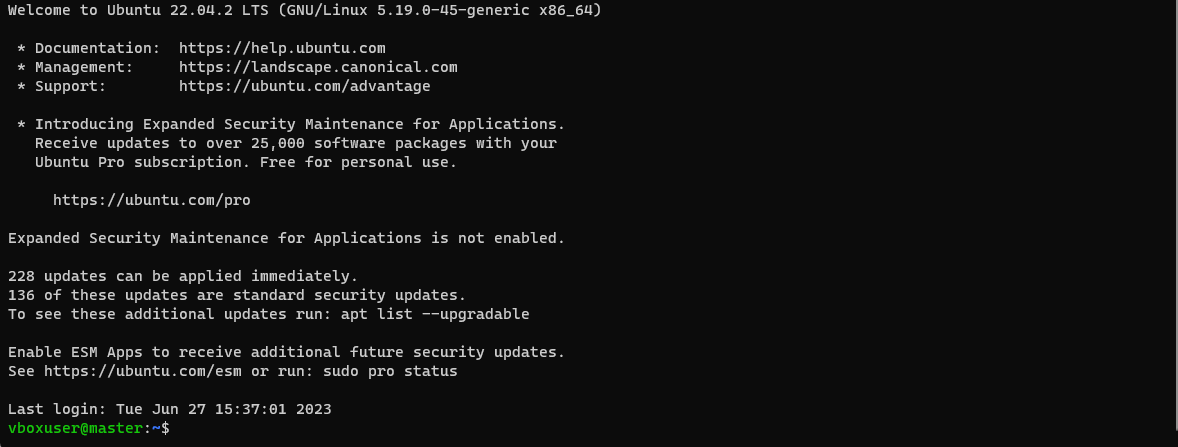
可輸入 lsb_release -a 查看 Ubuntu 版本,會顯示 Ubuntu 22.04.2 LTS。
-
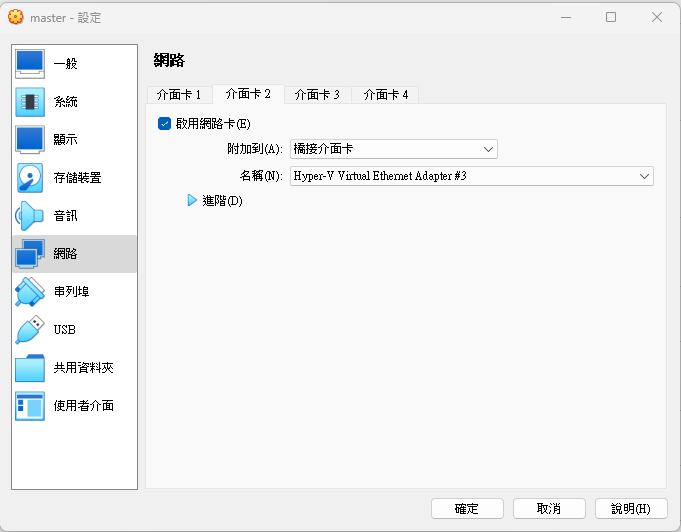
設定固定IP,並且要能夠連至外網。
先關閉VM,並且在網路設定,填選介面2,選擇橋接介面卡。
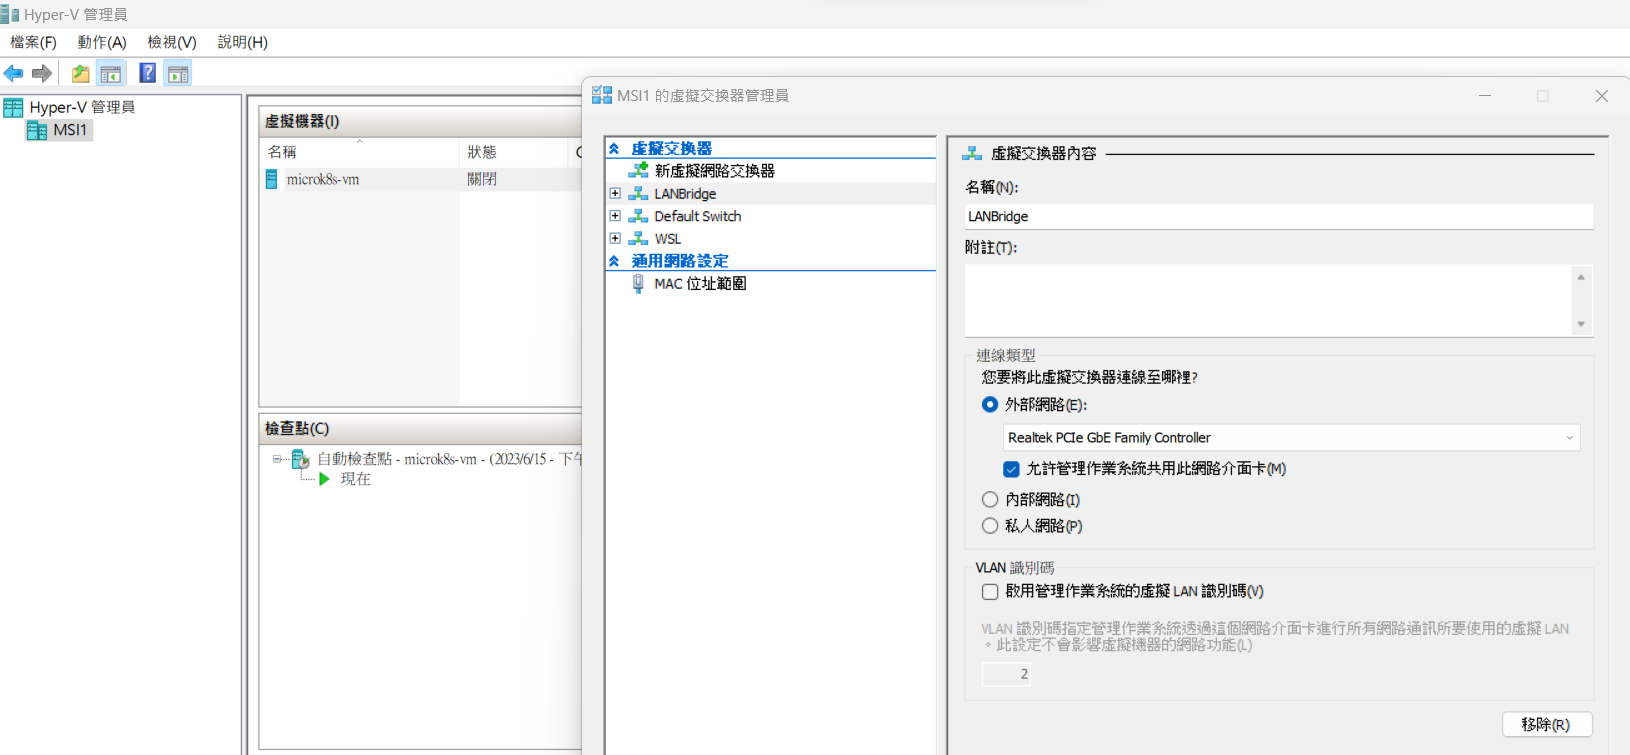
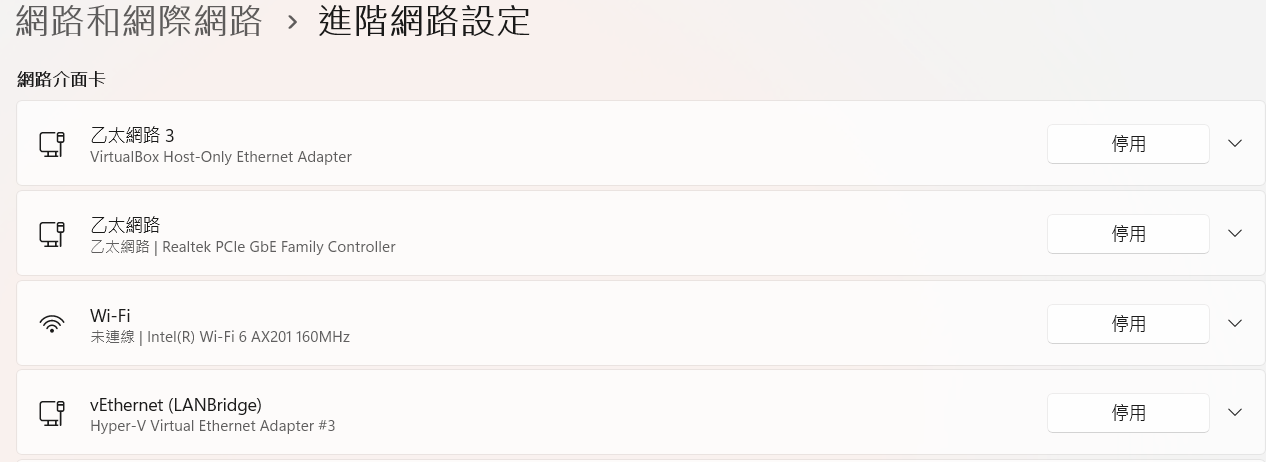
請先建立 LANBridge 虛擬交換器
查詢目前IP
hostname -I
切換目錄,並列出檔案,其中的 01-network-manager-all.yaml 為要修改的設定檔。
cd /etc/netplan/
ls
切回 su root ,密碼為 changeme

修改設定檔,修改完後,按下 CTRL+X,再輸入 Y,再按下 Enter 即可。
sudo nano 01-network-manager-all.yaml

原本:

network:
  version: 2
  renderer: NetworkManager

更新:

#network:
#  version: 2
#  renderer: NetworkManager
network:
  ethernets:
    enp0s3:
      dhcp4: true
    enp0s8:
      dhcp4: false
      addresses: [192.168.0.17/24]
  version: 2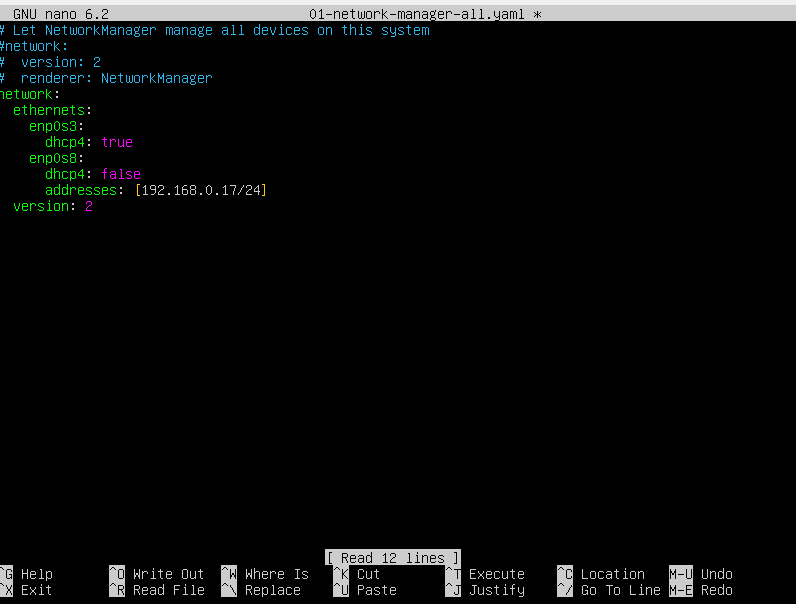
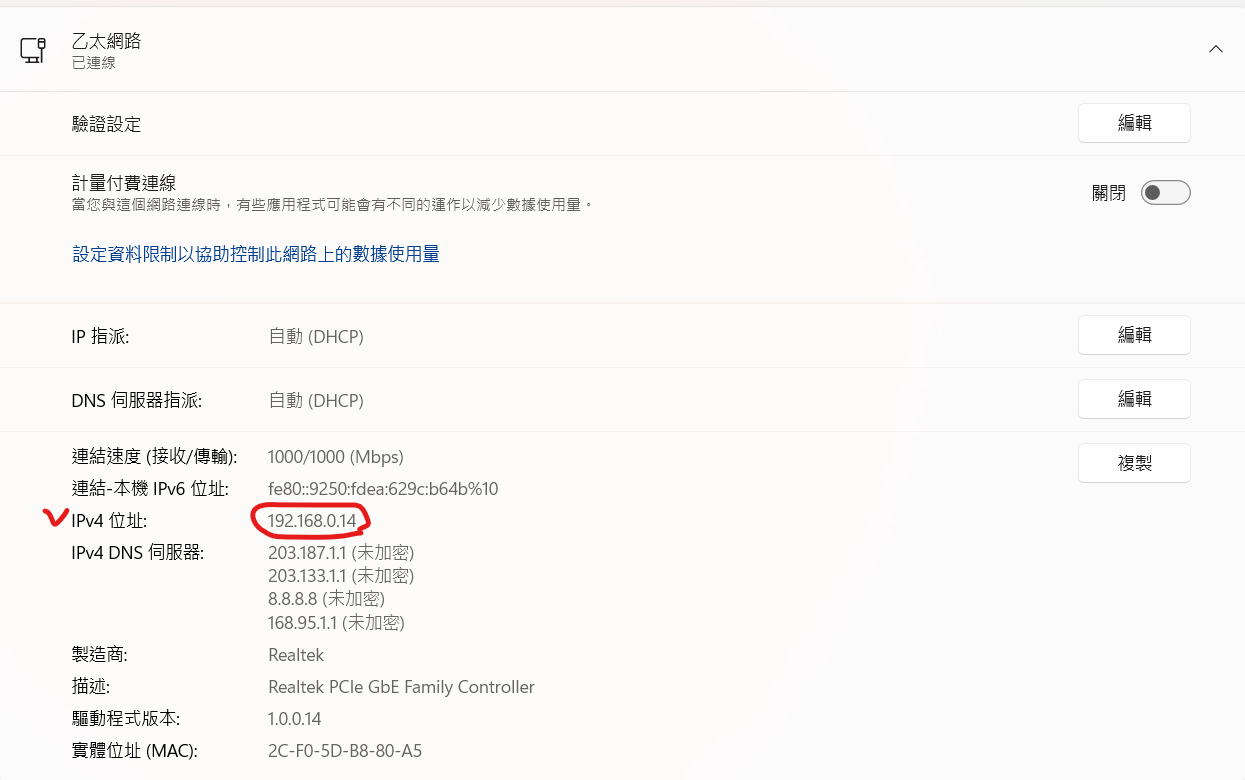
因為 乙太網路 的 IP 為 192.168.0.14,所以在分配時,可以網後新增即可。
執行更新,輸入指令,並直接按下,即會立即更新。(或重新啟動VM)
sudo netplan try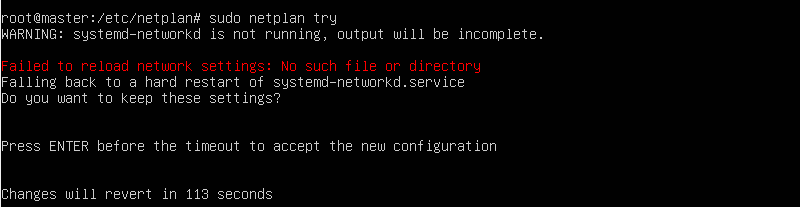
查詢IP,就會看到 192.168.0.17
hostname -I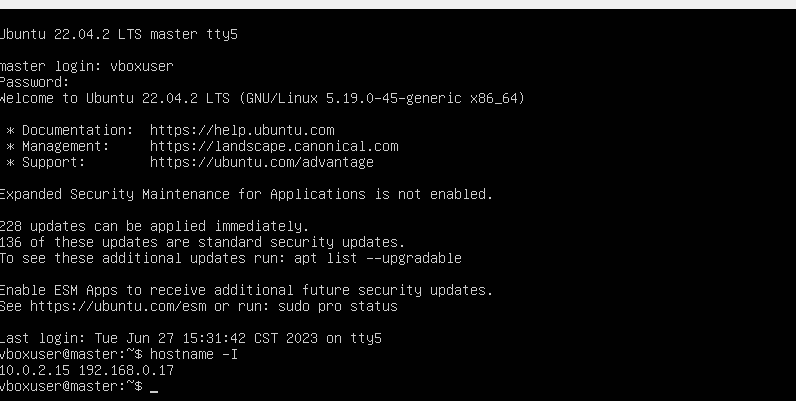
-
開啟 SSH 服務
先切回 su root,並安裝與啟動 SSH
apt-get update
apt-get install openssh-server
sudo service ssh --full-restart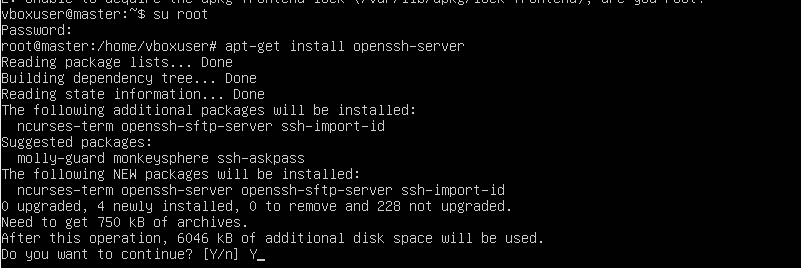
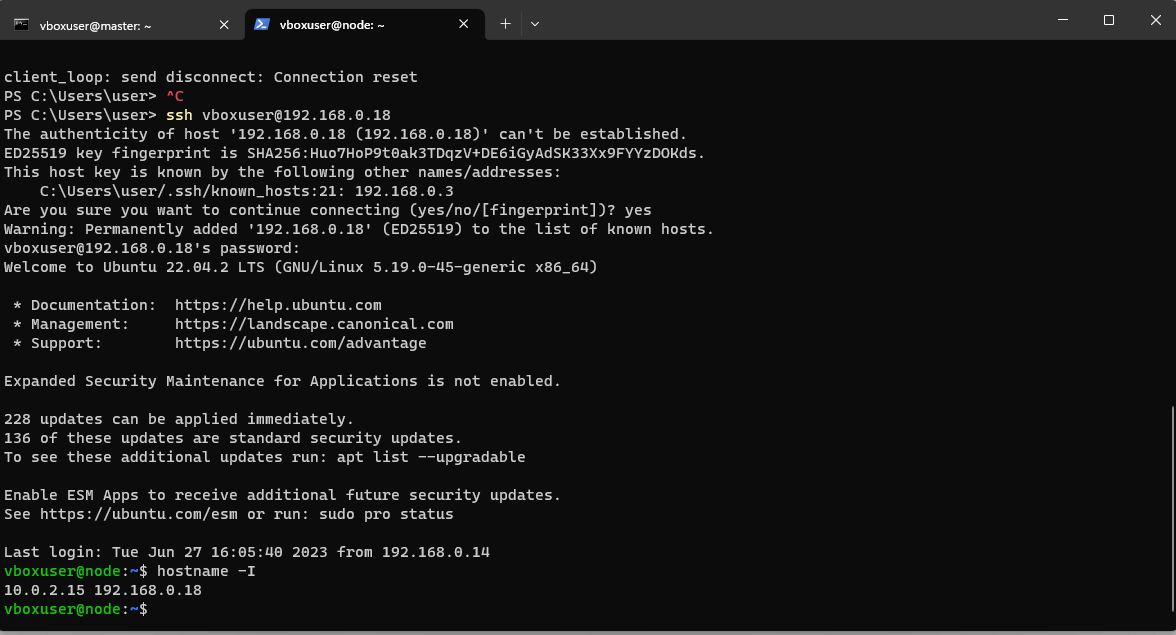
登入SSH
window cmd -> ssh vboxuser@192.168.0.17
測試看看是否可以連結外網 ping google.com

如何修改 ssh 的預設 port
1. 登入 ssh console 後,執行下列指令: nano /etc/ssh/sshd_config 2 將: #Port 22 改為: Port 3333 3 儲存退出後, console底下在執行ssh 重開指令: service ssh restart-
如何讓 root 也能登入 SSH
nano /etc/ssh/sshd_config
加入 PermitRootLogin yes
service ssh restart
-
2.建節點 node (Oracle VM VirtualBox)
- 步驟同上,IP 改為 192.168.0.18 即可。
3.在 master 與 node 中,安裝 microk8s。(其中metallb的IP為 master的 IP)
master node sudo snap install microk8s --classic
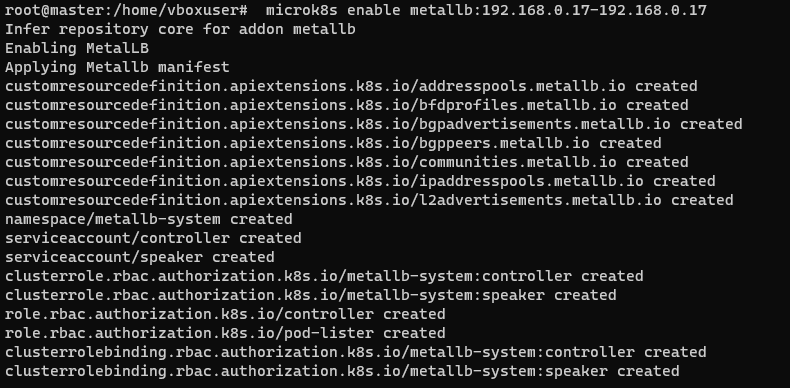
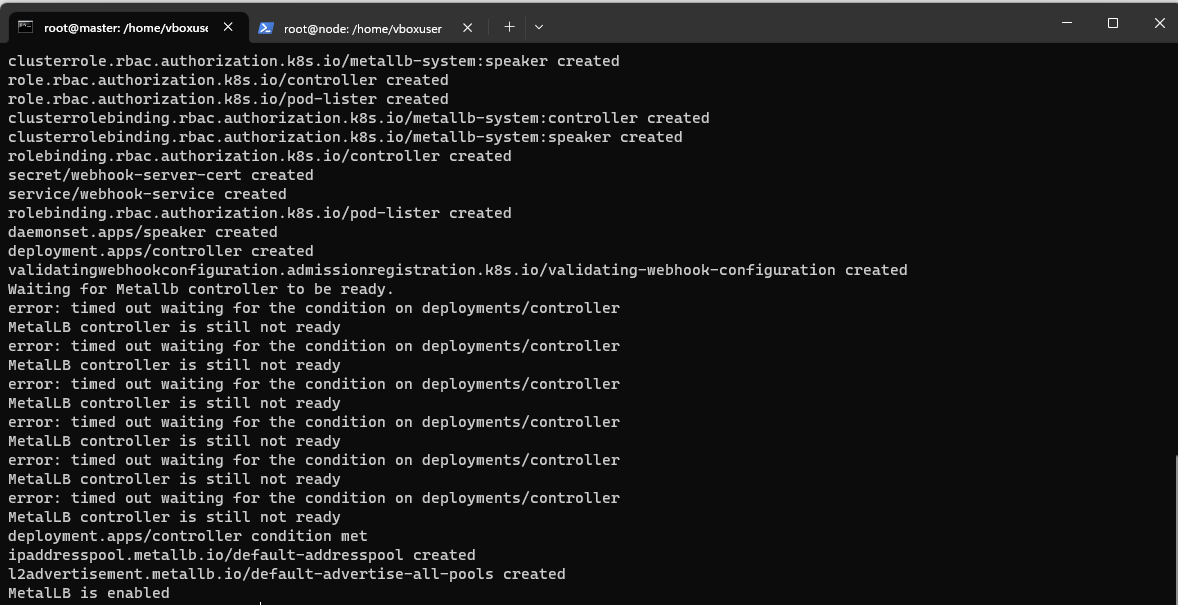
master microk8s enable metallb:192.168.0.17-192.168.0.100
master node microk8s enable dashboard dns registry istio helm3 storage
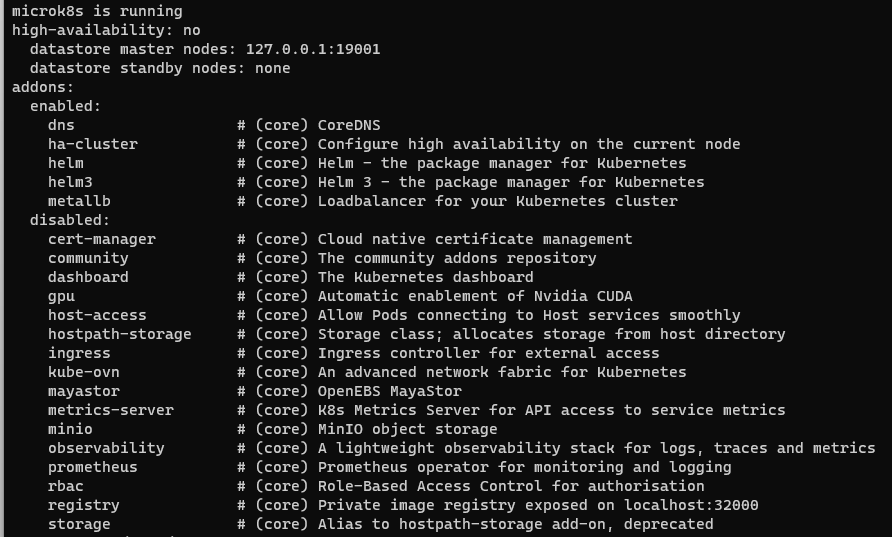
master microk8s status --wait-ready
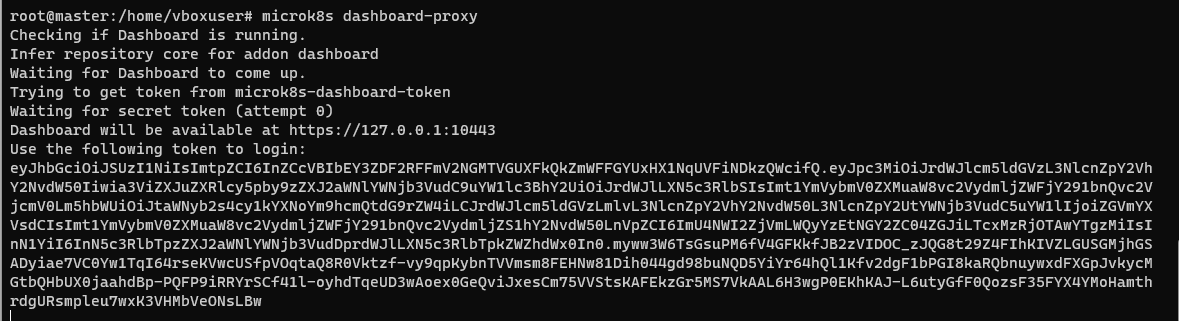
master microk8s dashboard-proxy

metallb:要好幾分鐘,直到看到 MetaLB is enabled。
microk8s status --wait-ready,看到 is runnung 代表成功。
microk8s dashboard-proxy
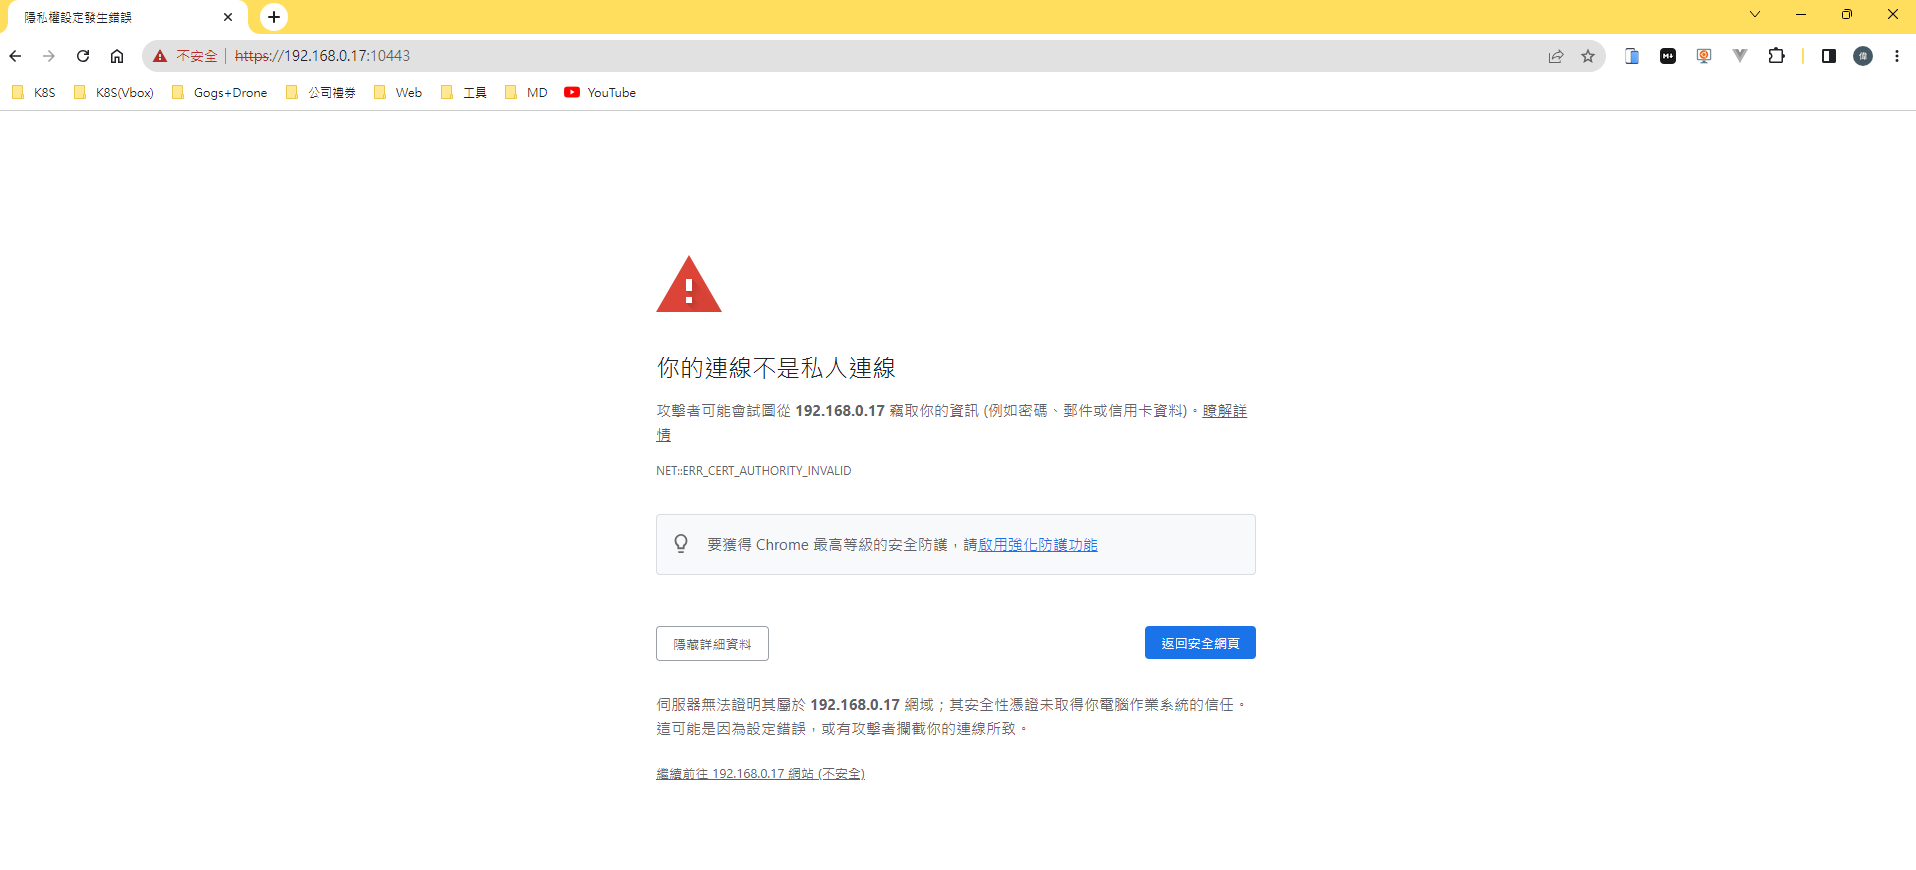
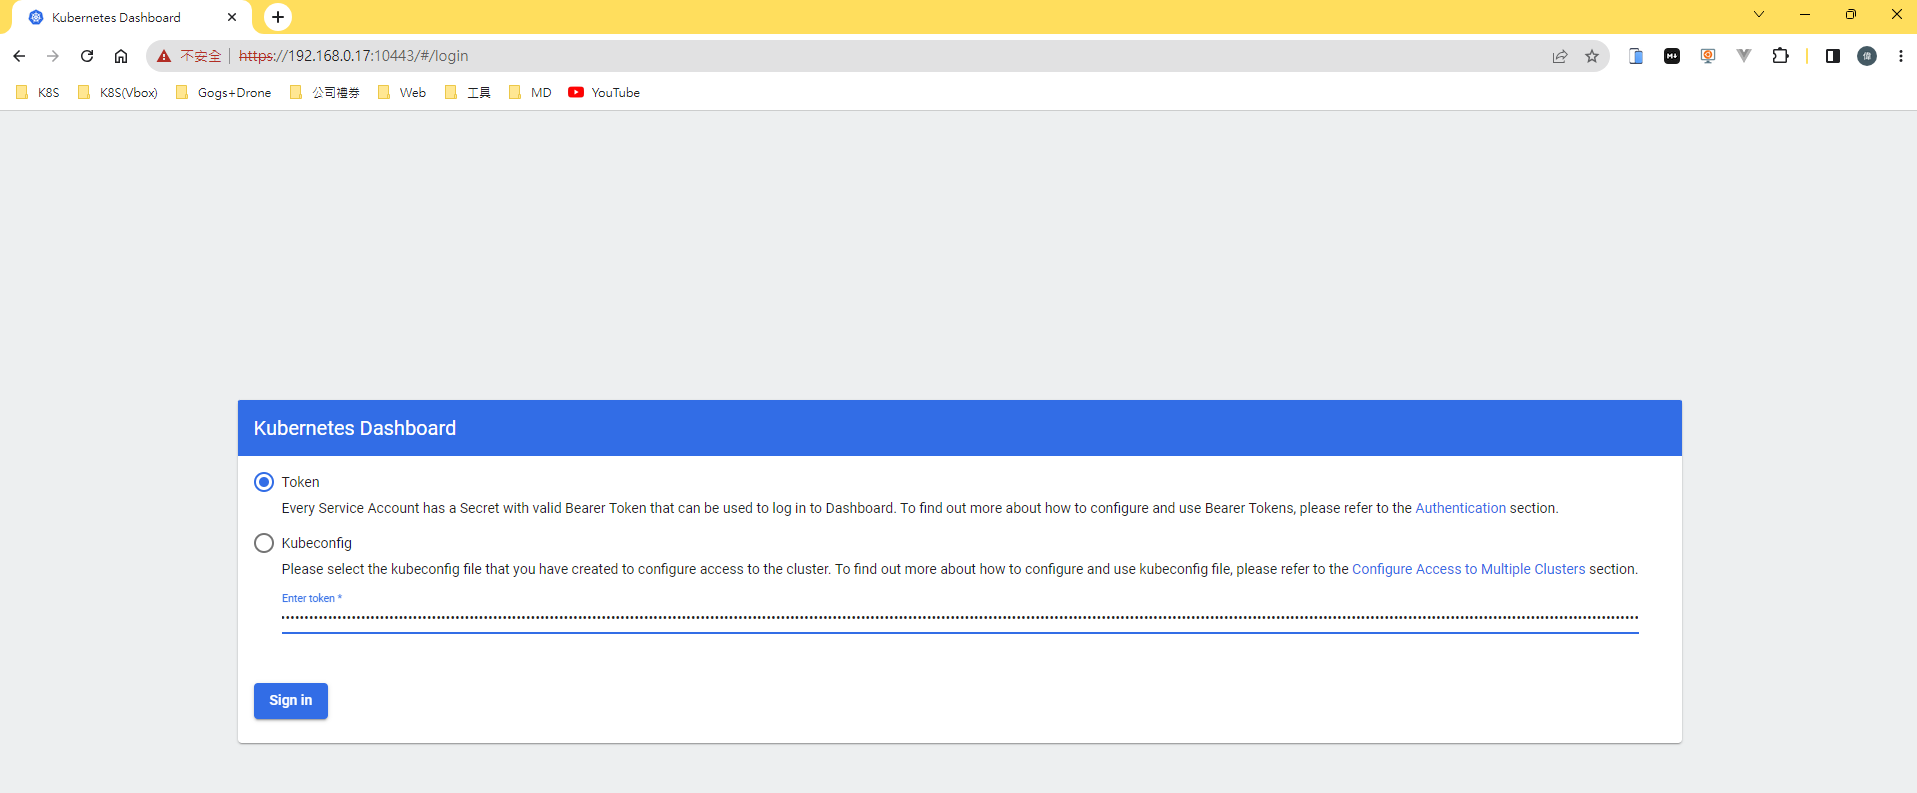
打開瀏覽器,網址為:https://192.168.0.17:10443。點選進階,繼續前往。輸入 Token,點選 Sign in。
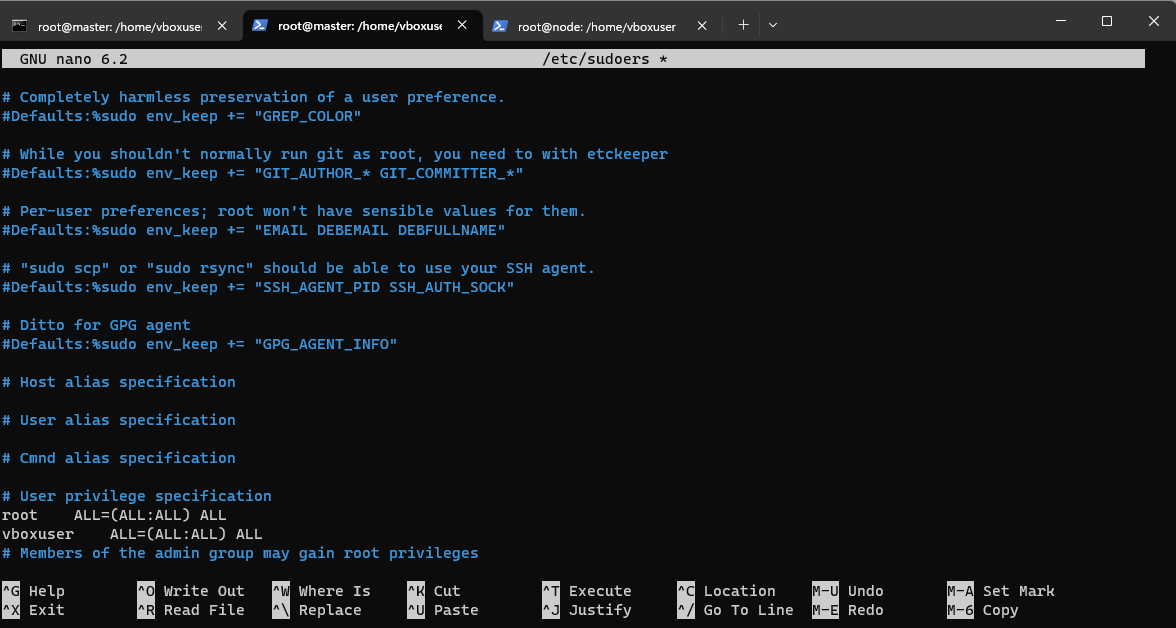
- 如果 不喜歡先切換 su root,或是出現 vboxuser is not in the sudoers file. This incident will be reported.
Step1. su root

Step2. nano /etc/sudoers

Step3. 加入 vboxuser    ALL=(ALL:ALL) ALL
4. 建立叢集關係
在 master 中輸入
microk8s add-node

    # 如果有錯,代表沒有權限,要先執行以下兩行
    su root
    sudo usermod -a -G microk8s vboxuser
    sudo chown -R vboxuser ~/.kube

    microk8s add-node

    選擇 靜態的IP
    microk8s join 192.168.0.17:25000/d3594715ba0d9c6b63b359c7166421de/bc19f9886c4b
在 node 中輸入
microk8s join 192.168.0.17:25000/d3594715ba0d9c6b63b359c7166421de/bc19f9886c4b

    錯誤:
    Contacting cluster at 192.168.0.101
    Connection failed. The hostname (node1) of the joining node does not resolve to the IP "192.168.0.18". Refusing join (400).

    解決:
    192.168.0.18 為 node1 的固定 IP,請在 master的 /etc/hosts 檔案中加入 192.168.0.18 node.mshome.net 一行。

    nano /etc/hosts

    add
    192.168.0.18 node.mshome.net
    192.168.0.18 node

    錯誤:
    Contacting cluster at 192.168.0.17
    Connection failed. Invalid token (500).

    解決: 去 master 重新產生新的 token。(microk8s add-node)
看到 Waiting for this node to finish joining the cluster. .. .. .. 就代表成功了

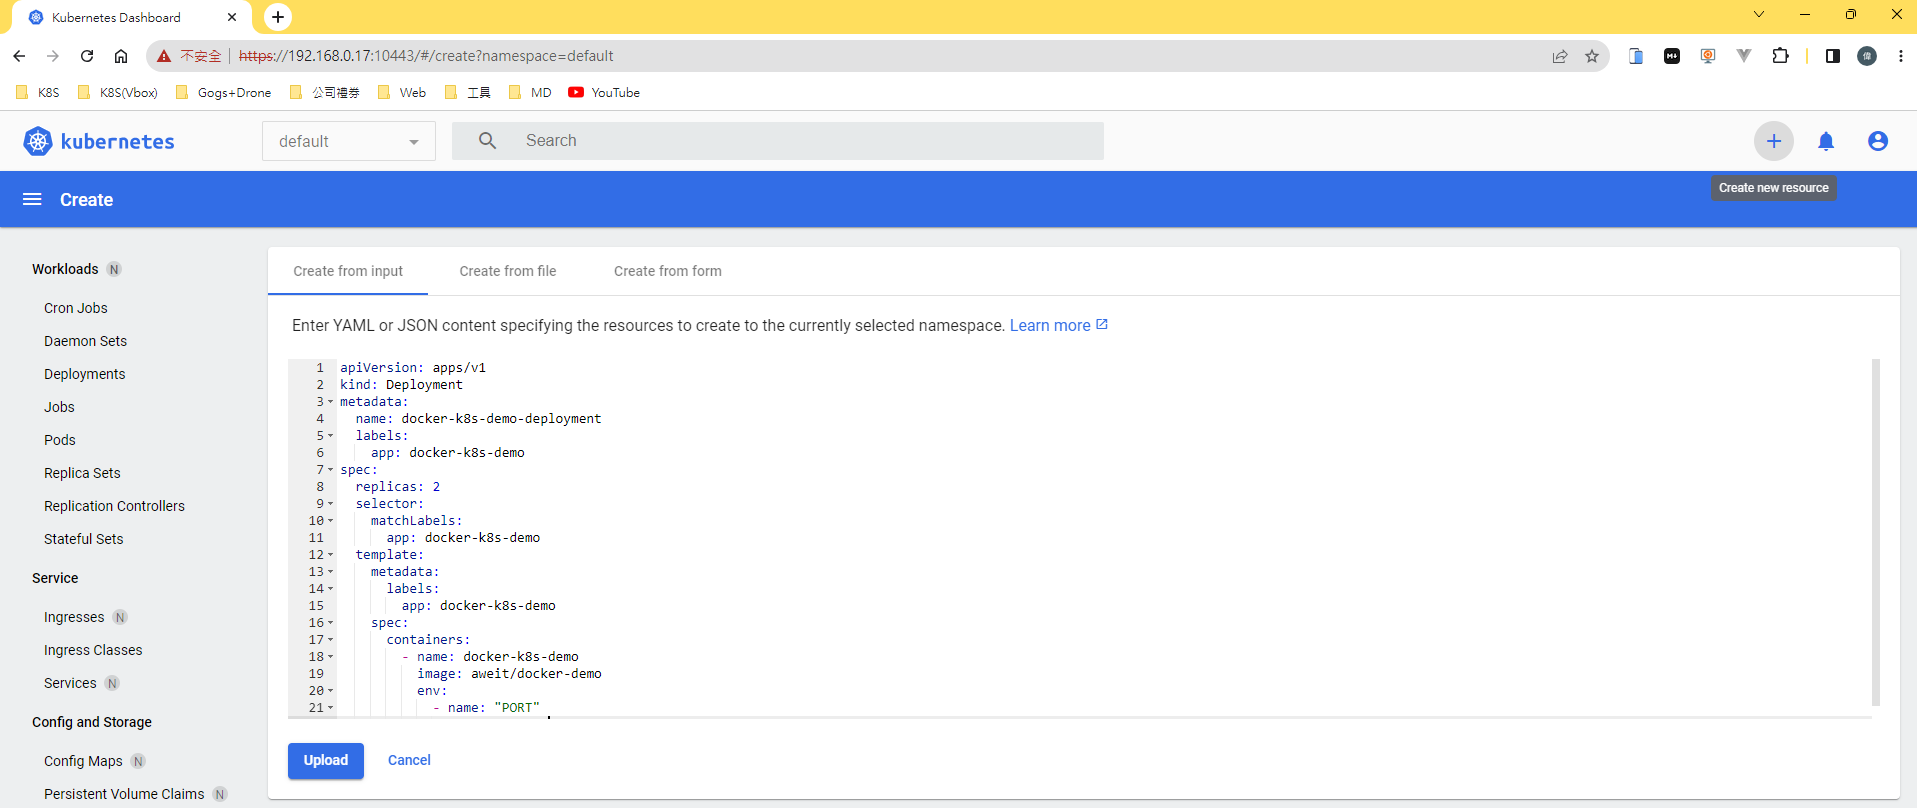
5. 測試設定檔
- Deployment:
apiVersion: apps/v1
kind: Deployment
metadata:
  name: docker-k8s-demo-deployment
  labels:
    app: docker-k8s-demo
spec:
  replicas: 2
  selector:
    matchLabels:
      app: docker-k8s-demo
  template:
    metadata:
      labels:
        app: docker-k8s-demo
    spec:
      containers:
        - name: docker-k8s-demo
          /assets/image: aweit/docker-demo
          env:
            - name: "PORT"
              value: "8090"
如果出現Error: Err/assets/imagePull,代表 Docker Hub 中的這個 /assets/image 是 Private 的。

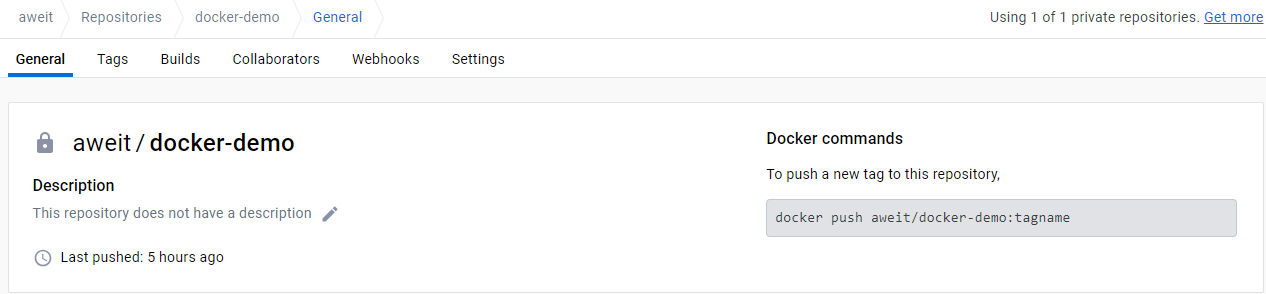
解決辦法:
解決方案一:調整 containerd 的 Docker Hub Registry 設定
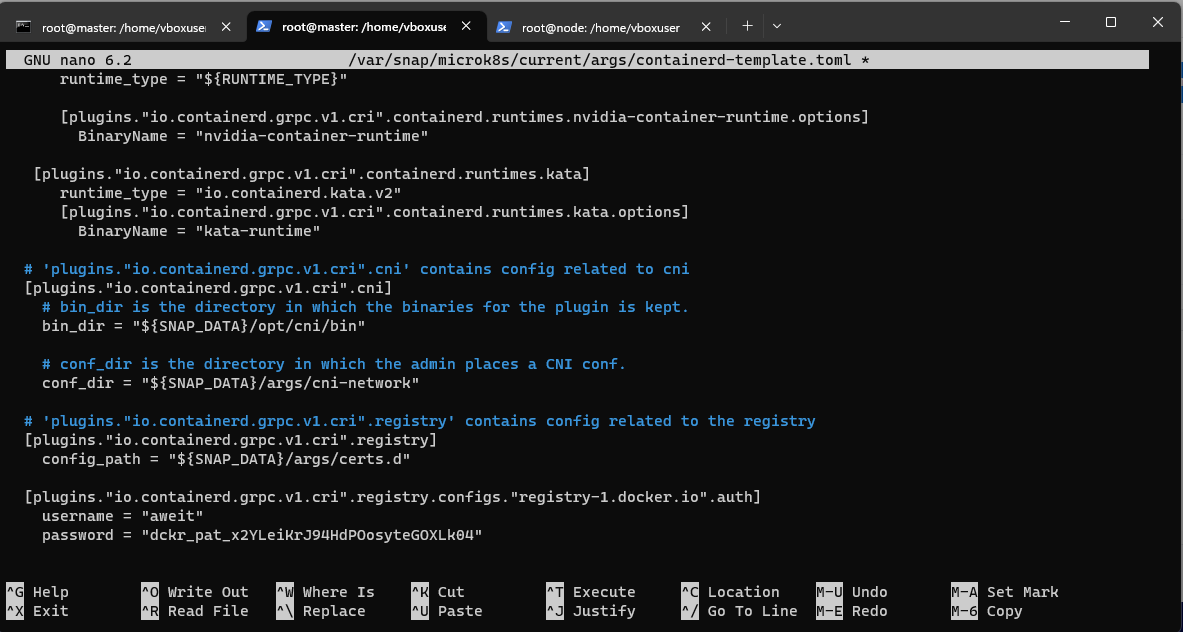
[plugins."io.containerd.grpc.v1.cri".registry.configs."registry-1.docker.io".auth] username = "aweit" password = "dckr_pat_x2YLeiKrJ94HdPOosyteGOXLk04"
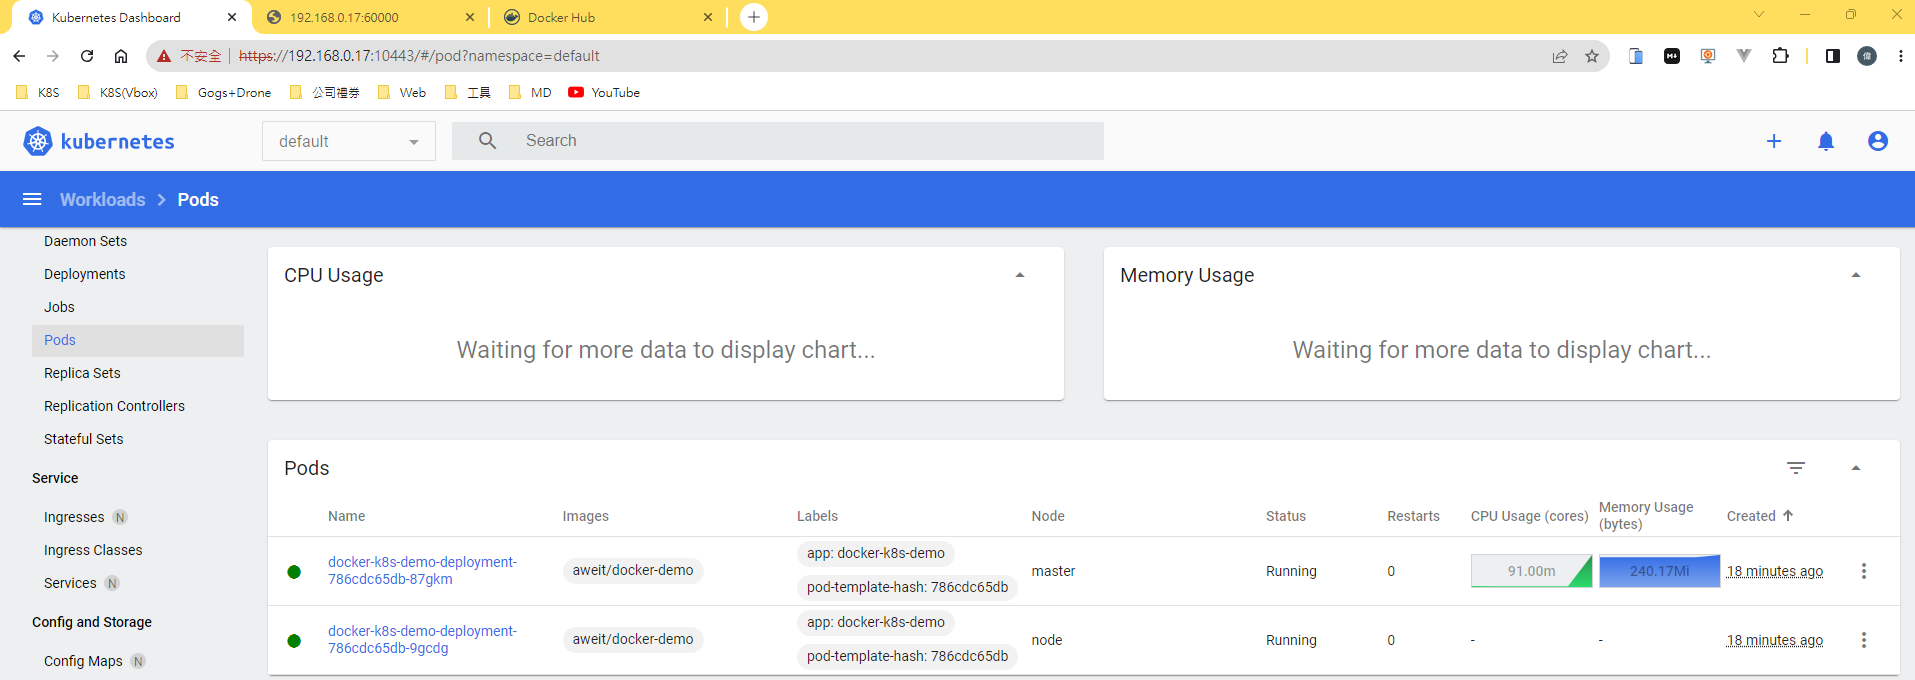
正確畫面如下:
- Service:
apiVersion: v1
kind: Service
metadata:
  name: docker-k8s-demo-service
spec:
  type: LoadBalancer
  selector:
    app: docker-k8s-demo
  ports:
  - protocol: TCP
    port: 60000
    targetPort: 8090
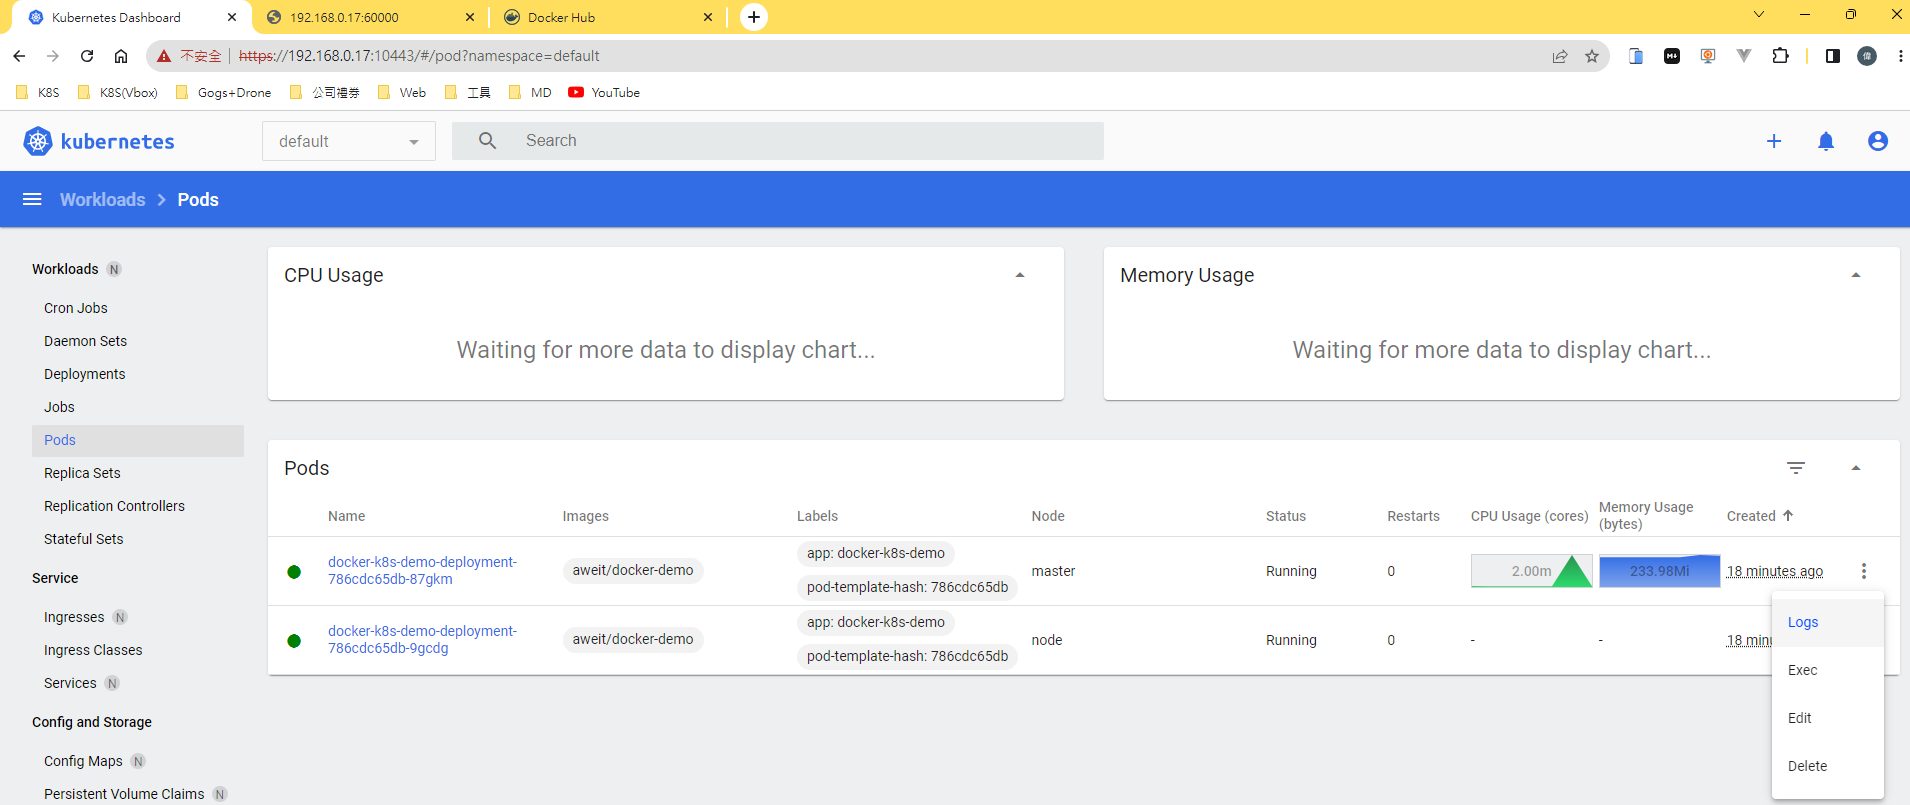
- 測試連結
點選 Service -> Services
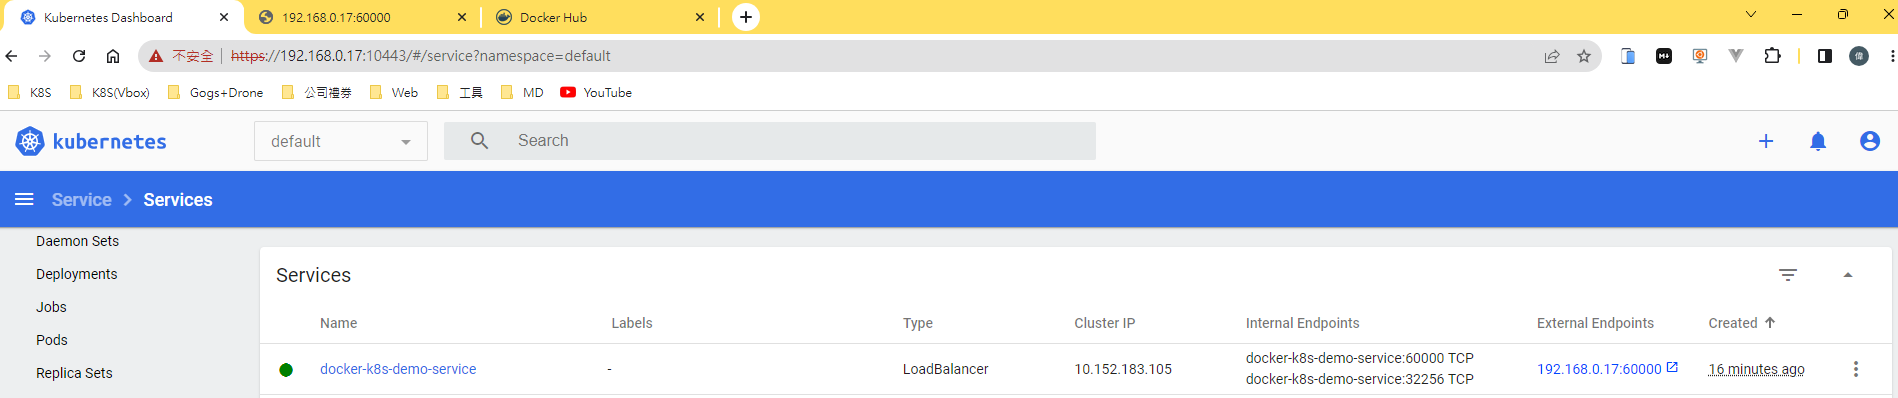
打開瀏覽器,輸入 http://192.168.0.17:60000/
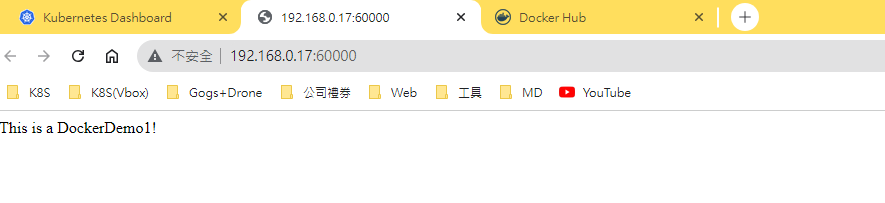
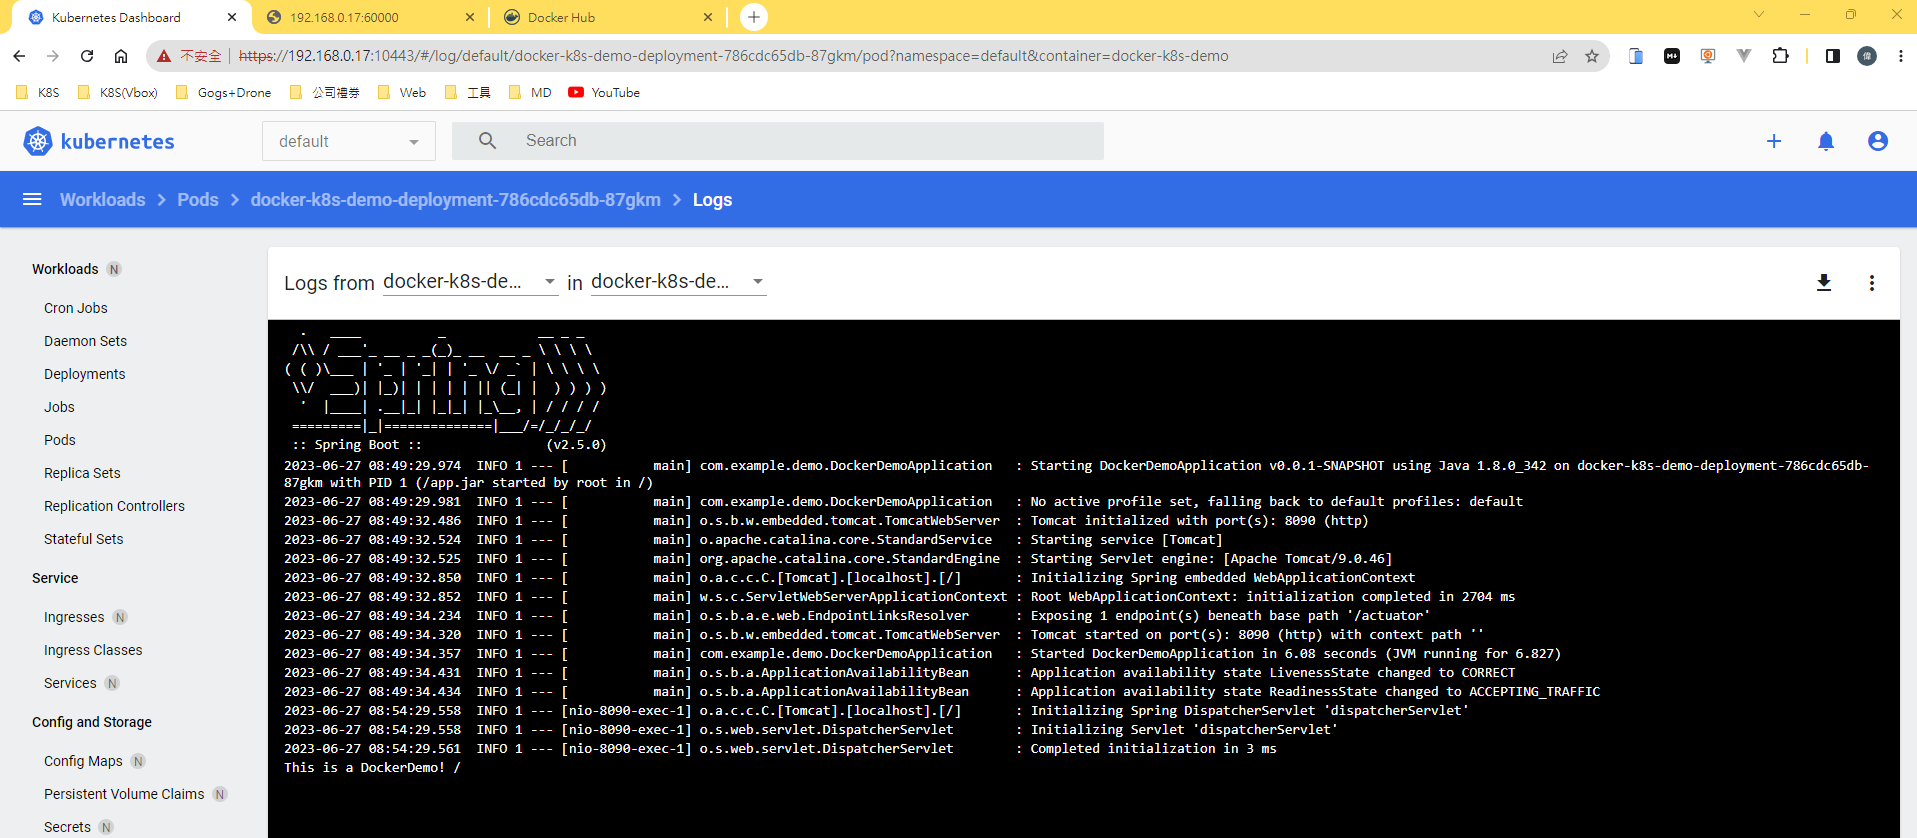
看 Log